Introduction
Hi! I’m Daniel Gava, a 3d artist from São Paulo, Brazil. I’m 35 years old and have been working with 3D for some time now. I started working with 3D in a small game company back then, after which I began in advertising studios and agencies. Nowadays, I’m a freelancer working from my home studio for the past 4 years.
Over the years, I have jumped into several software programs. In the very beginning, 3Ds Max was my entry into the 3D world. Shortly after, I started working with Softimage XSI, and later I migrated to Modo. In the middle of all this time, I was always looking at the growth of Blender. And then in 2018, with the launch of Blender 2.8, I jumped to Blender and stuck with it to this day.
Working with advertising, I became a 3D generalist because each project has a different approach and needs different skills. Blender helps a lot with this. I have all the tools that I need for each project in one place.
But aside from that, I always prefer to work with characters and give some focus to them. In the past few years, I've been making some collectible statues from comics, movies, and books. And for that, I’m combining Blender power with ZBrush using GoZ all the time.
Inspiration
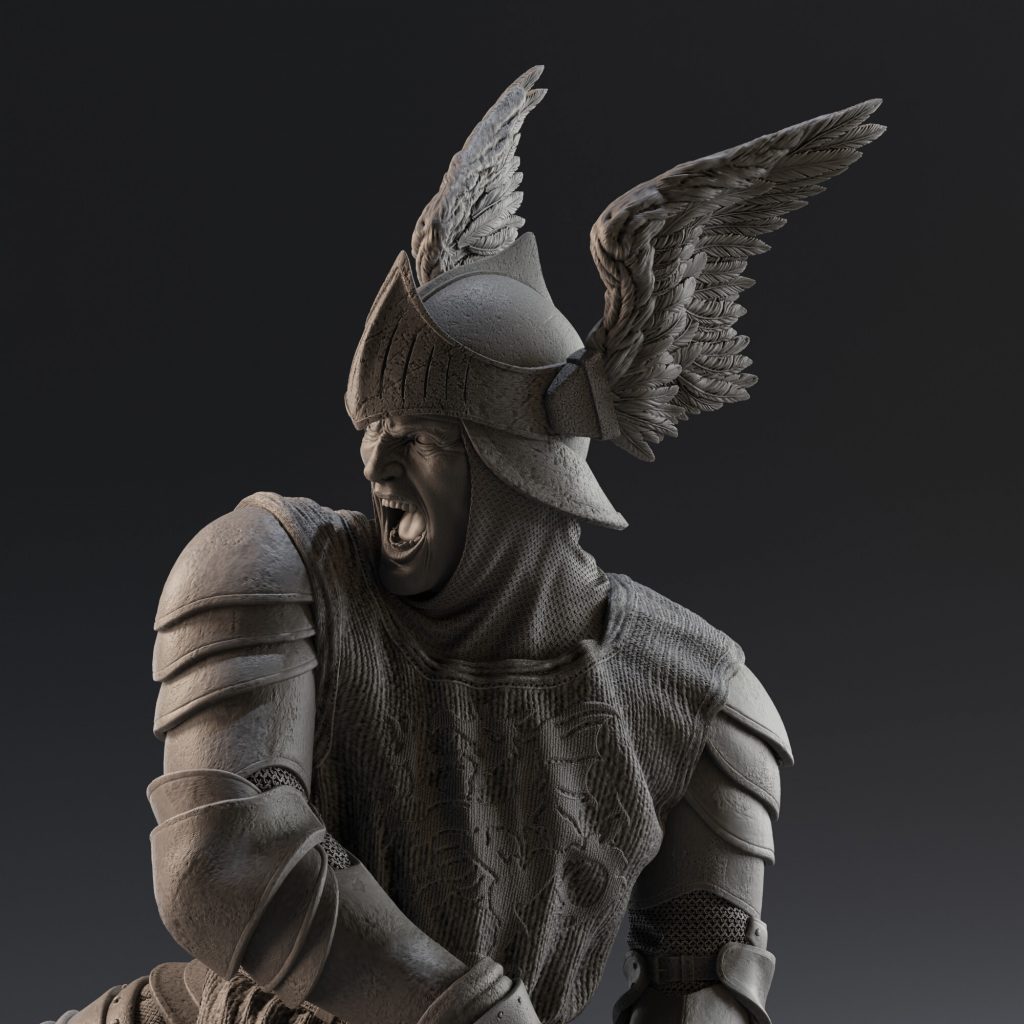
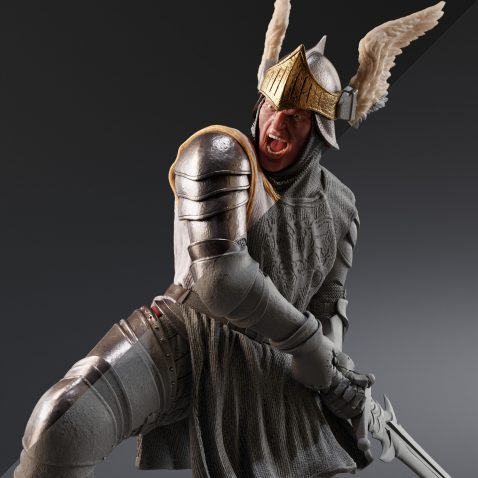
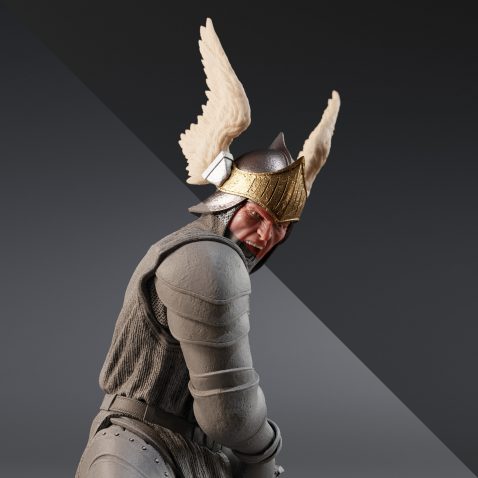
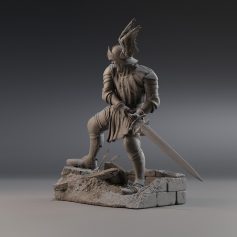
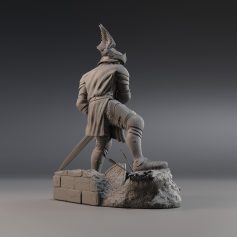
So, let’s talk about "Dark Warrior".
This piece is a personal project. I made it to be printed as a collectible.
Every time that I have the so-called "artist block" or something like that, I try to go back to something that I've always liked, something that brings me a nostalgic feel, so it can give me that extra push to begin a project and have a good experience from the beginning to the end of it.
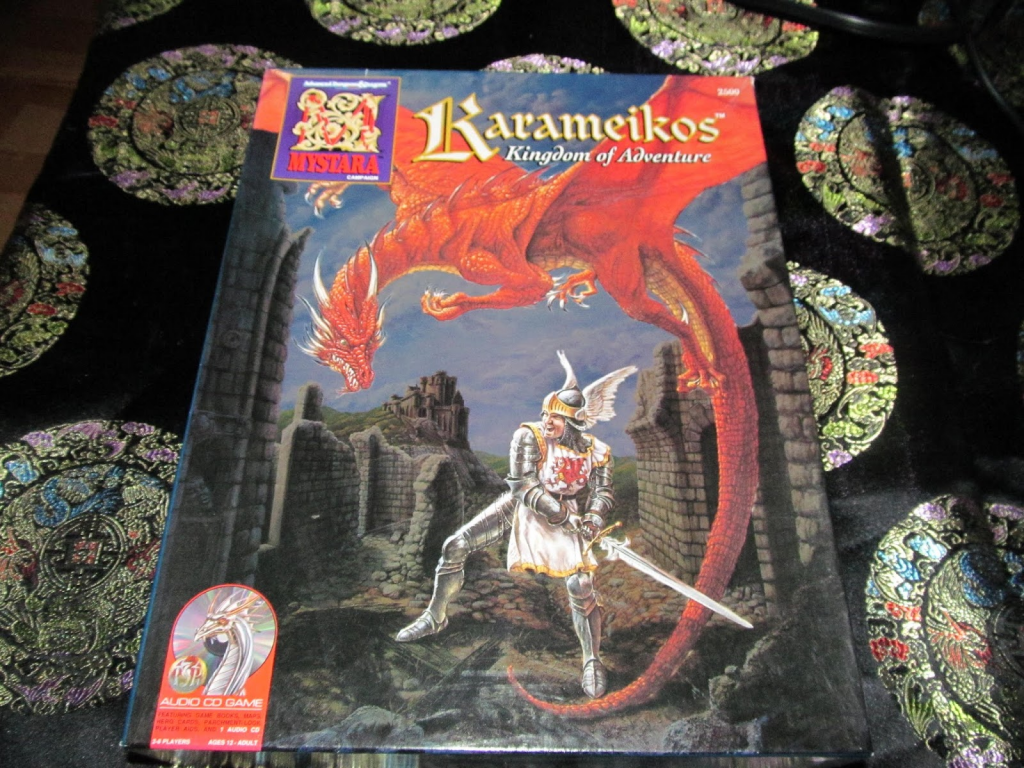
And that’s what I did here—this character is based on a piece done by the amazing artist Jennell Jaquays that was on the cover of an RPG (role-playing game) from the mid-90s, Karameikos: Kingdom of Adventure.
Gathering References
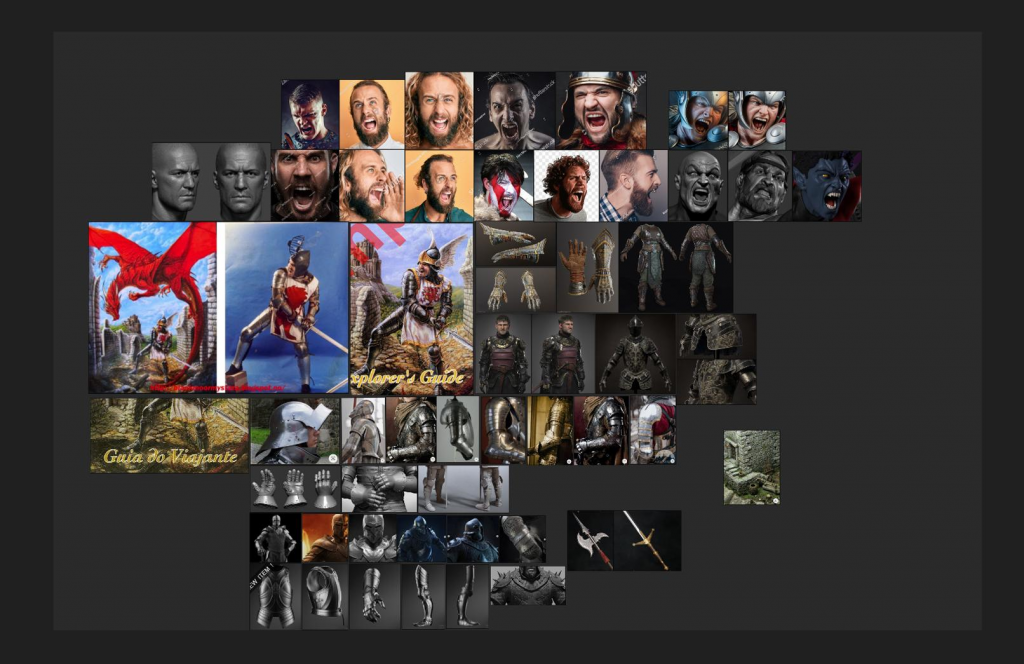
The starting point. I grab references for all the stages of the process so I don't need to stop working to search for something and lose focus in the middle of it. So I try to look for some references of all the looks and feels that I need like the posing, facial expressions, armor, sword, materials, cloth movement… everything that I can think of. To organize all this, I use a tool called PureRef. It's amazing and it's free!
Blocking The Pose
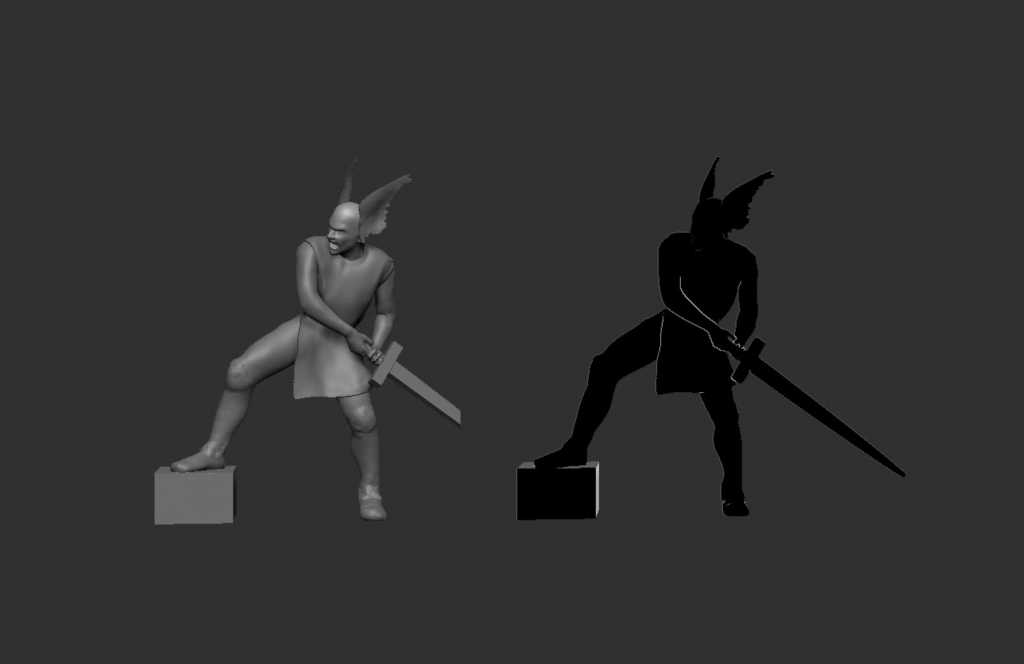
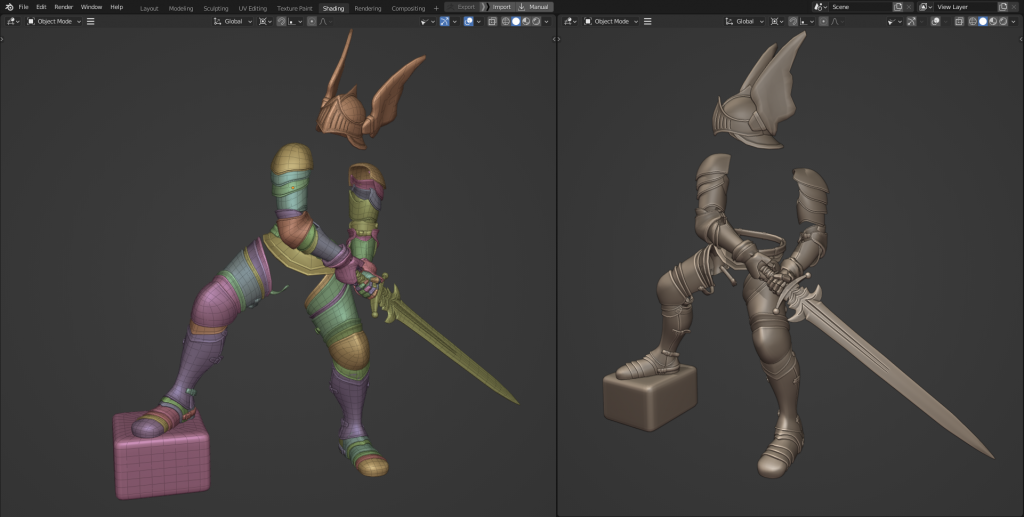
In this step, I try to be fast and don’t bother with details or the quality of the mesh. Every model will be changed after this.
At this point, I’m trying to make a base for the piece to check the pose, and how everything will look. A good thing to do at this point is to check the silhouette of the character.
Modeling
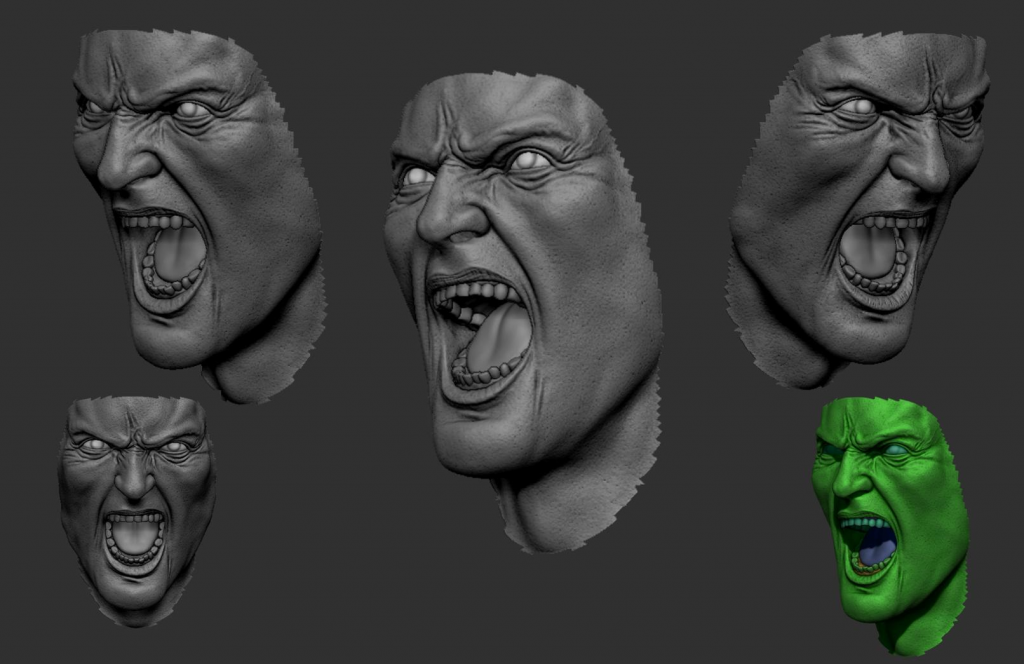
After I have an idea of how the piece will look at the end, it's time to start the modeling. And for characters, I always start with the face and work on it till it's almost done. For me, the face is the most important part, so if it is not getting good then there is no reason to continue working on the other parts until the face is done.
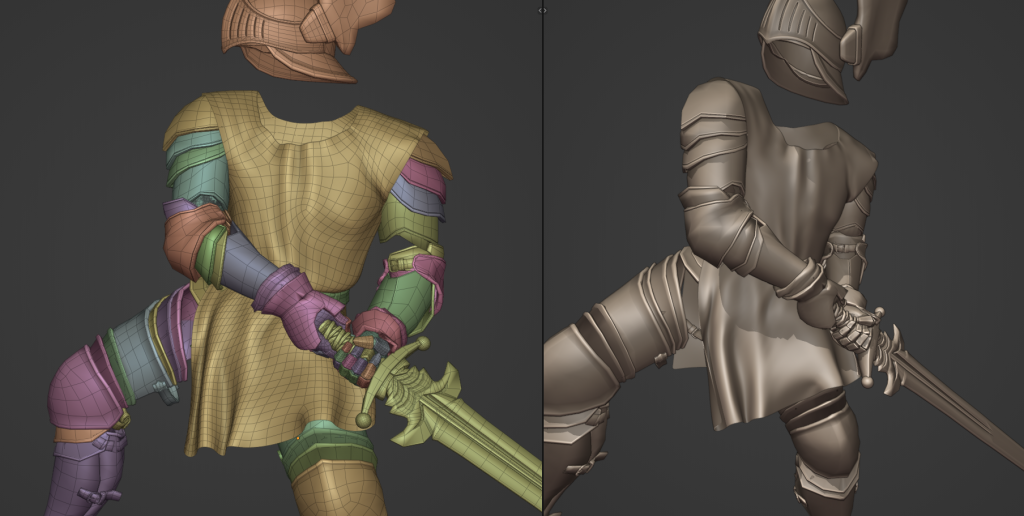
When I’m happy with the face, then it's time to go to the clothing, mostly armor in this case.
For most characters, I work on a ‘T’ pose, and then I model a base mesh and put it on the pose that I want. But in this case, since almost all of his body is covered with heavy armor, I decided to model each part while he is on the pose.
All the hard surface modeling was done in Blender, then I sent it to Zbrush with GoZ to add some details.
Like I said before, my workflow has a lot of back and forth to it.
For the cloth, I made a base mesh in Blender using 2 planes and gave the cloth movement with the Sculpt tool.
Details
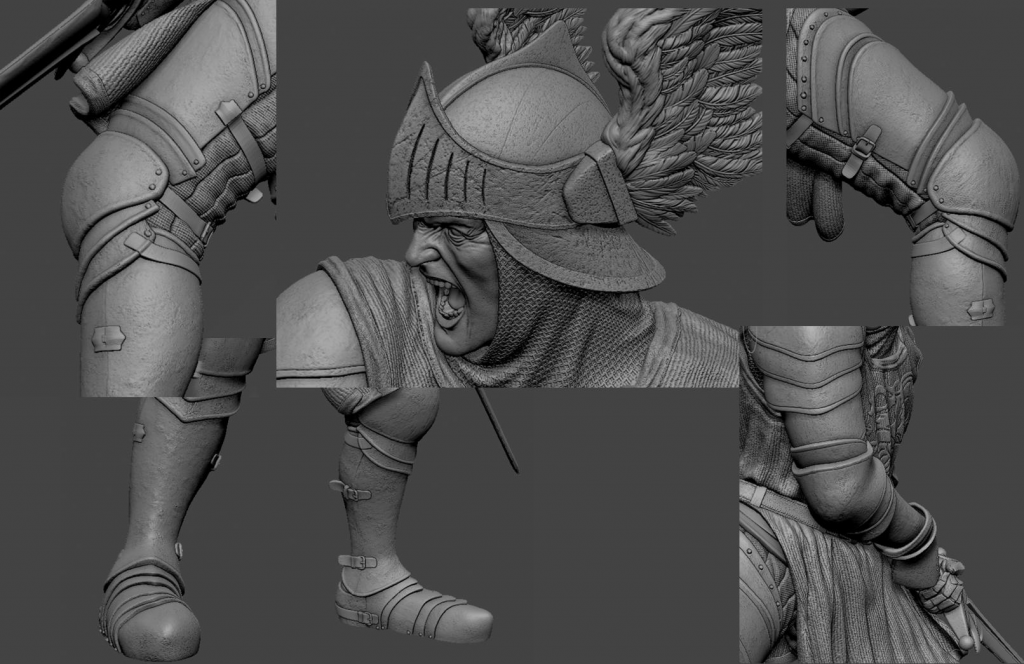
Now that I modeled everything in Blender, it’s time to put some details with Zbrush.
For the armor, I add some scratches and break a surface a little so it’s not perfect. The idea is to print this model so some details have to be more strong even if it sometimes ‘looks too much,’ so in the print it will be preserved.
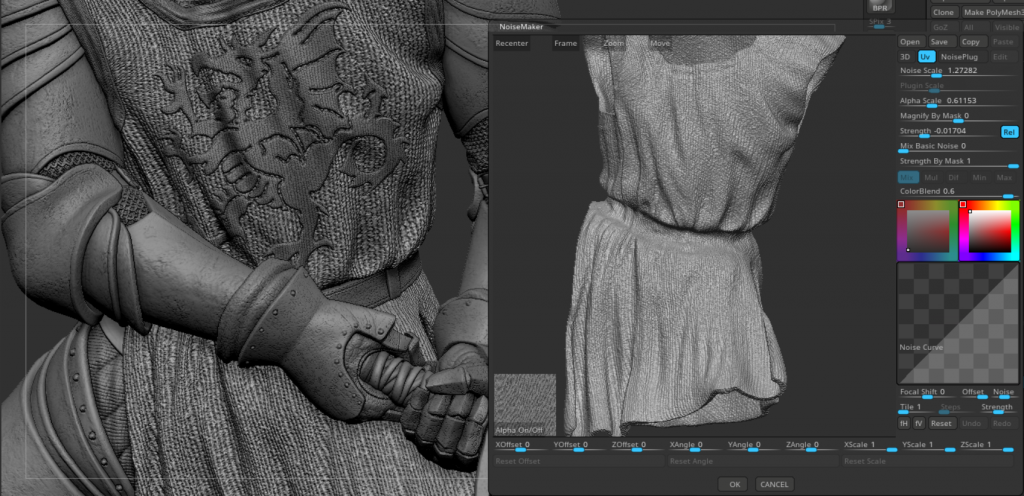
For the cloth, I open the Uvs and use the ‘Surface’ feature to apply the fabric texture. Same thing with chainmail.
Making The Stand
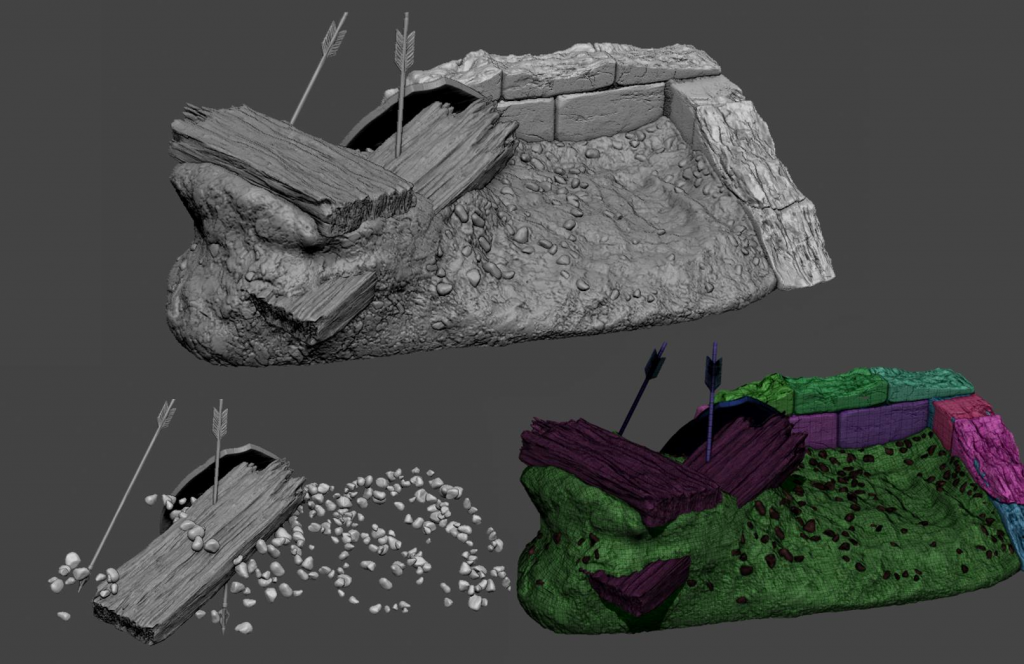
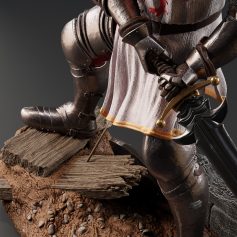
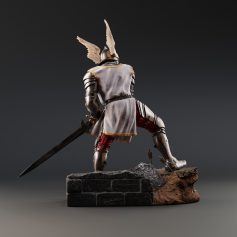
Now that the character is done, it's time to make the stand. The process was the same––I model everything in Blender and then add some details in Zbrush. I use this Surface method to add rock and grunge textures as well.
For the ground, I made the basic cube, deformed it the way I wanted and fixed the mesh with remesh tool, and subdivided it again. Then I create some rocks with a "rock generator" and scatter them using "Geometry Nodes".
The planks are a mix of clay tubes and trim brushes.
Render Time
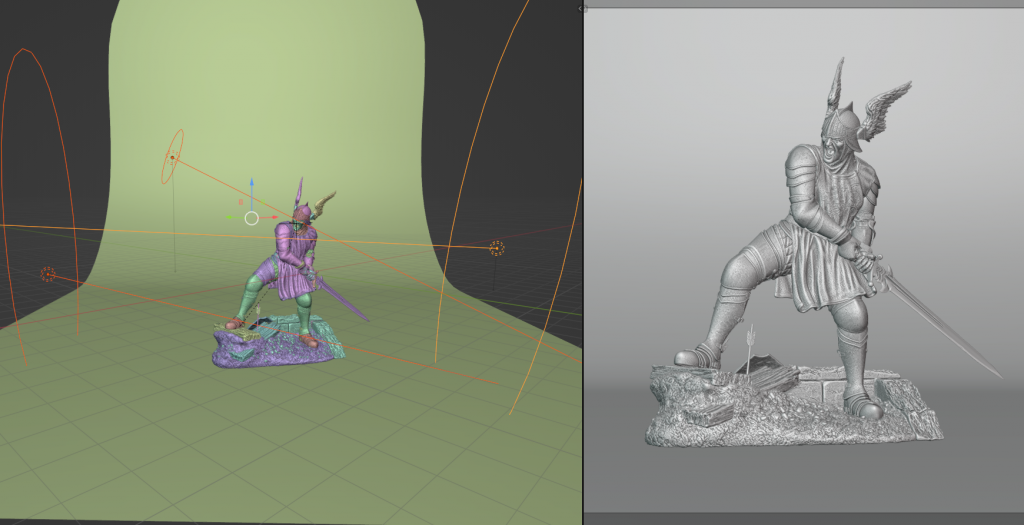
The first step is to prepare the models so that everything can return to Blender. I use Decimation Master to lower the polycount without losing quality.
For the face, I paint some diffuse texture using polypaint, so in that case, I have to check "Use and Keep Polypaint". Zbrush will decimate the mesh and keep the polypaint so you can use it in Blender. It’s a faster way to send it to Blender but it will use more polygons to keep the polypaint information. Another option is to open the Uvs and export the maps and then in the DecimationMaster, you can check "keep Uvs".
For the light, I use the simple point light scheme.
In this part, Blender really helps me on how quickly I can tweak the shaders showing a fast preview even with a large mount of polygons on the viewport
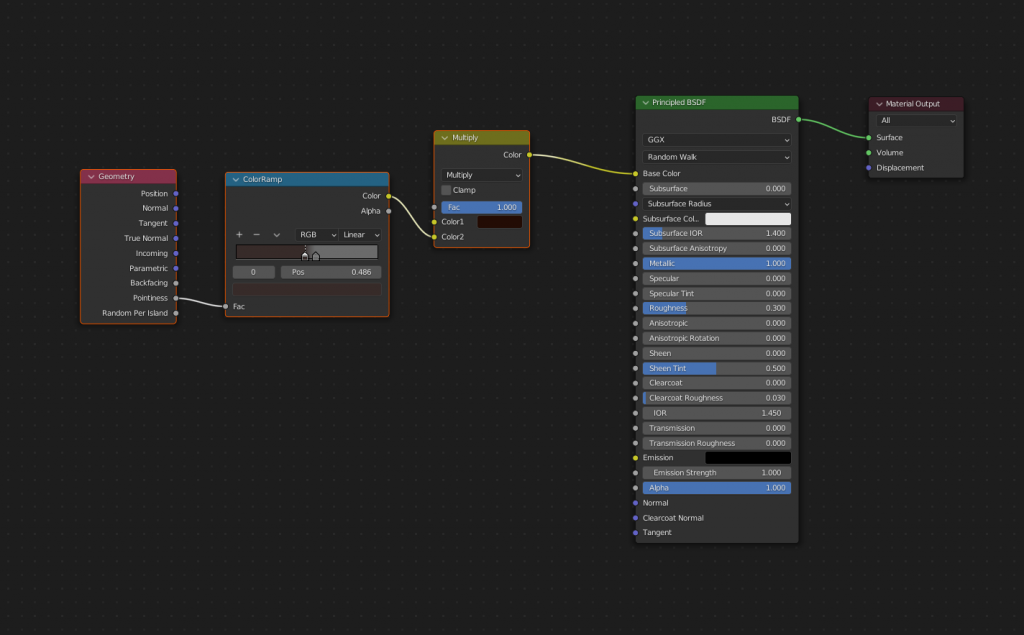
A good tip that I can give to show the mode and details of your models is to use the "de Geometry node" and the plugin "Pointness" on a "Color Ramp," and then mix it with the principled diffuse node.
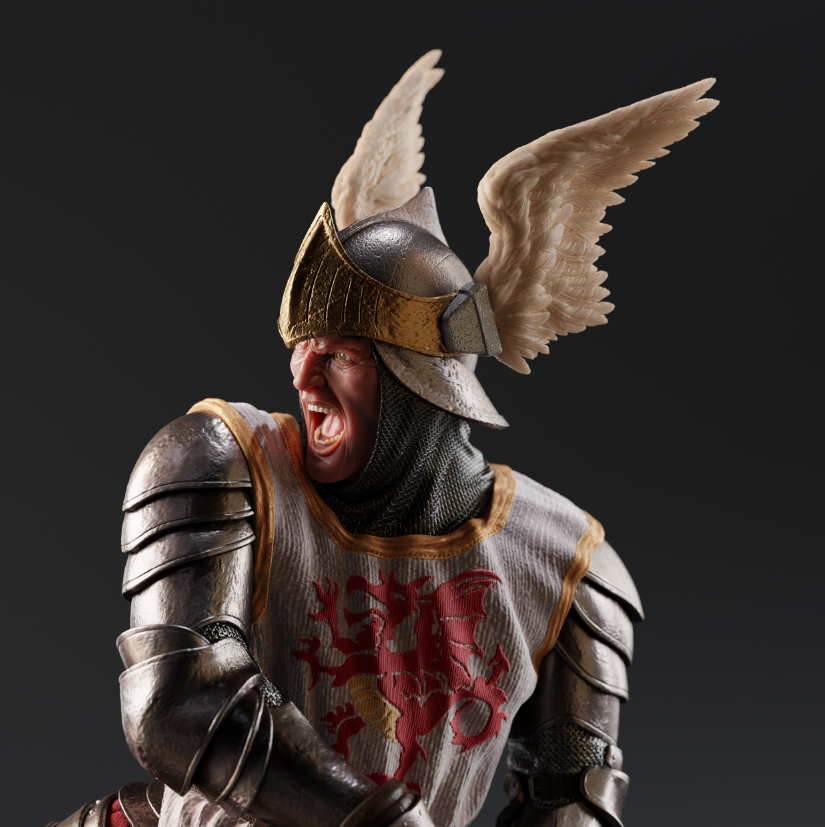
I use this feature on all the materials to pull some details on the mesh. After that, I tweak the shader for different materials, metals with the right specular, the face with the polypaint and SSS, …etc.
And that was the process of making the "Dark Warrior".
Dark Warrior
Hope you all like it, and if you want to see more images or have some questions about it, I will gladly answer.
About the Artist
Daniel Gerolde Gava, is a 3D Generalist.


6 Comments
Amazing work!!!!
thanks !!!
Really cool!
thank you !
Amazing work, hopefully someday I could do a piece as good as yours ♥
thank you very much !